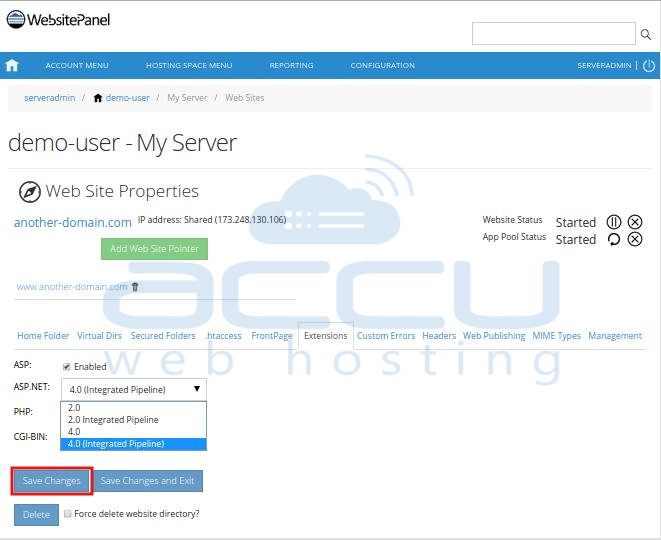
WebsitePanel allows you to change the ASP.Net application pool of your web applications. In this tutorial, we'll guide you to change the application pool of a website.
- Login to WebsitePanel. WebsitePanel is located at URL http://your-vps-ip:9001.
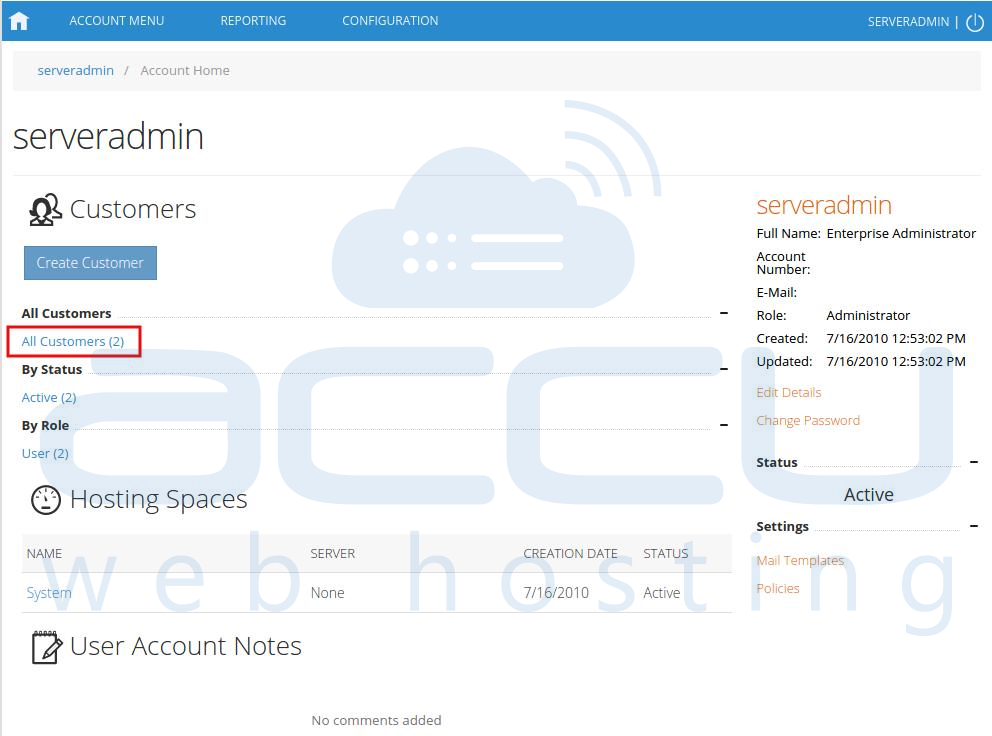
- Once you are logged into WebsitePanel, click on All Customers link.
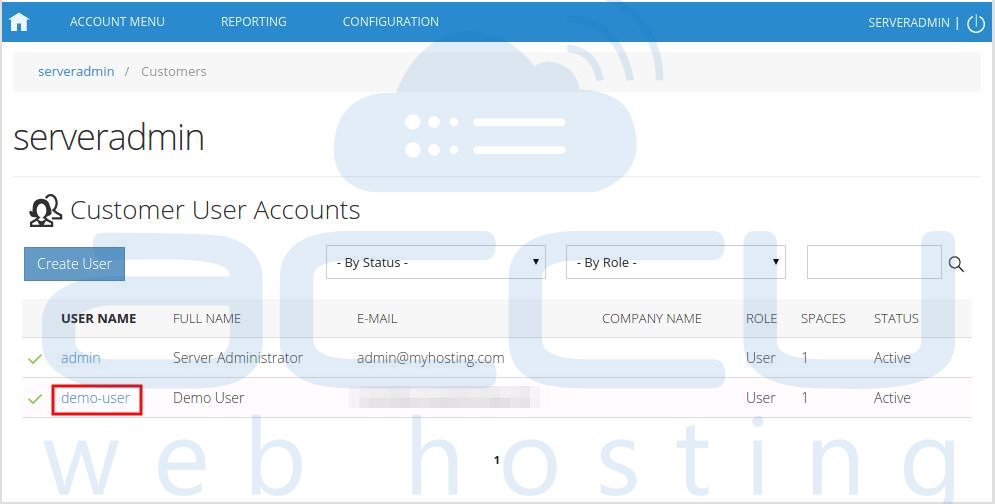
- In the next screen, you will see the list of all created users. If you have not created any user yet, you'll see the default admin user there. Click the username link under website is created.
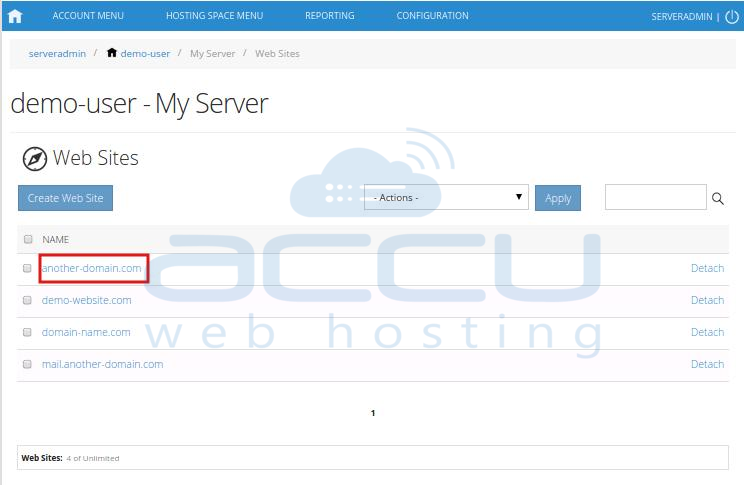
- In the next screen, you will see icons for all the services you can manage from the WebsitePanel. Under Web & Applications section click Web Sites icon.

- In the next screen you will see the list of previously created websites. Select the website name whose application pool you want to change.
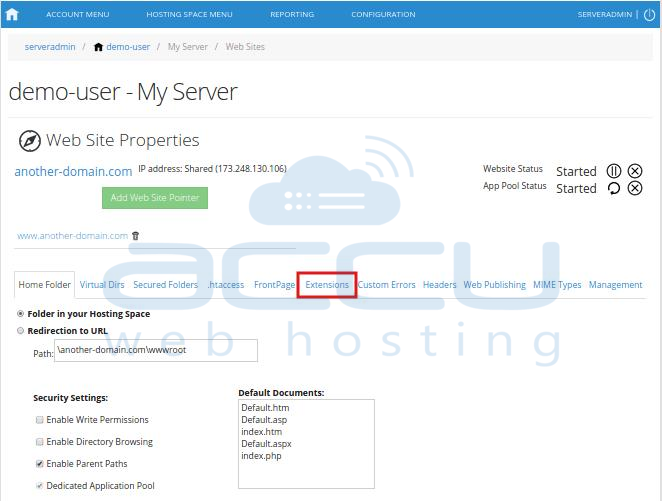
- This will open up the Web Site Properties page. Click on Extensions tab.
- At this stage, you will see the drop down menu called ASP.NET. Select your choice of application pool from the drop down menu and click on Save Changes button.
