This article will assist you how to install Xojo Apps on Windows Server.
Xojo is a object oriented cross-platform development tool which allow you to create your own app for the Desktop, Web, iOS and Raspberry Pi. You can create the apps like commercial or in-house apps, games,utilities and more with Xojo.
Xojo is a object oriented cross-platform development tool which allow you to create your own app for the Desktop, Web, iOS and Raspberry Pi. You can create the apps like commercial or in-house apps, games,utilities and more with Xojo.
What are the prerequisites?
- OS Requirement: Windows Server 2008 R2/2012 R2/2016 64-bit architecture.
- RAM: Minimum 2GB RAM
- Software required: PDF viewer for documentation.
- Browser: Chrome 37+, Firefox 17+, Edge, Internet Explorer 11+
- Deployment: Standalone/ Apache2/ IIS
Installation steps of the Xojo APP for Windows Server 2008/2012/2016
- Login into your Windows VPS through Remote Desktop.
- Open your web browser and go to Xojo’s official website to download the setup. You will have to signup to download the xojo setup file.
- Login into the Xojo account and click on the windows option under Other Platforms to download the setup file.

- Once the setup file is downloaded. Double click on it to install the Xojo app.

- This will display the default installation path. If you want to change the installation path of your Xojo app then click on the browse button and select the folder where you want to install it. Click on Next.

- In this windows, you can select the different start Menu folder for the Xojo. If you want to change it then click on the browse button and select the folder where you want to add.
If you want to go with default one then click on the Next button.
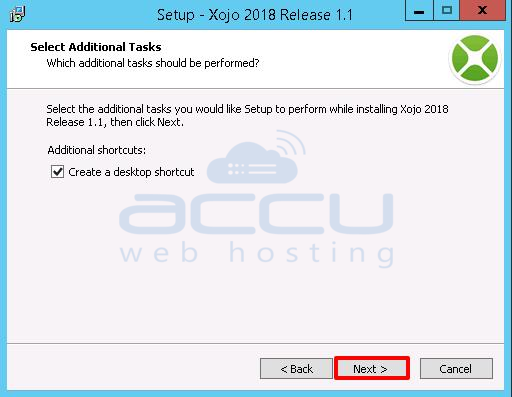
- In this windows screen, you can uncheck the option Create a desktop shortcut if you don’t want to create a shortcut on the desktop. Click on the Next button to continue the installation.

- Click on the Install button to install Xojo on your VPS.

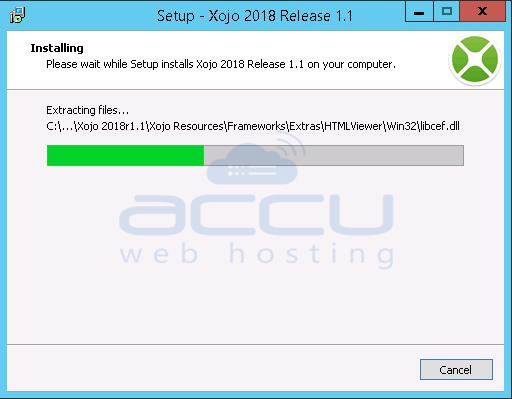
- By click on the Install button installation process will be started. Please don’t click on the cancel button otherwise it will be aborted.

- Click on the finish button to complete the installation process.

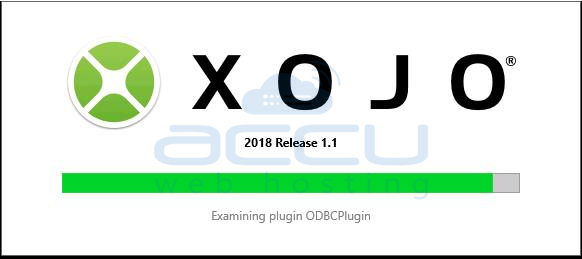
- Double click on the Xojo application to open it. It will take a few minutes to start the application.

- Once the above process completed you can see the Xojo application.

- A Xojo project is a document that contains all the items that create your app. You can open several projects at once and you can also open several windows per project. To create a project, you have these types from which to choose: Desktop, Web, Console or iOS.
