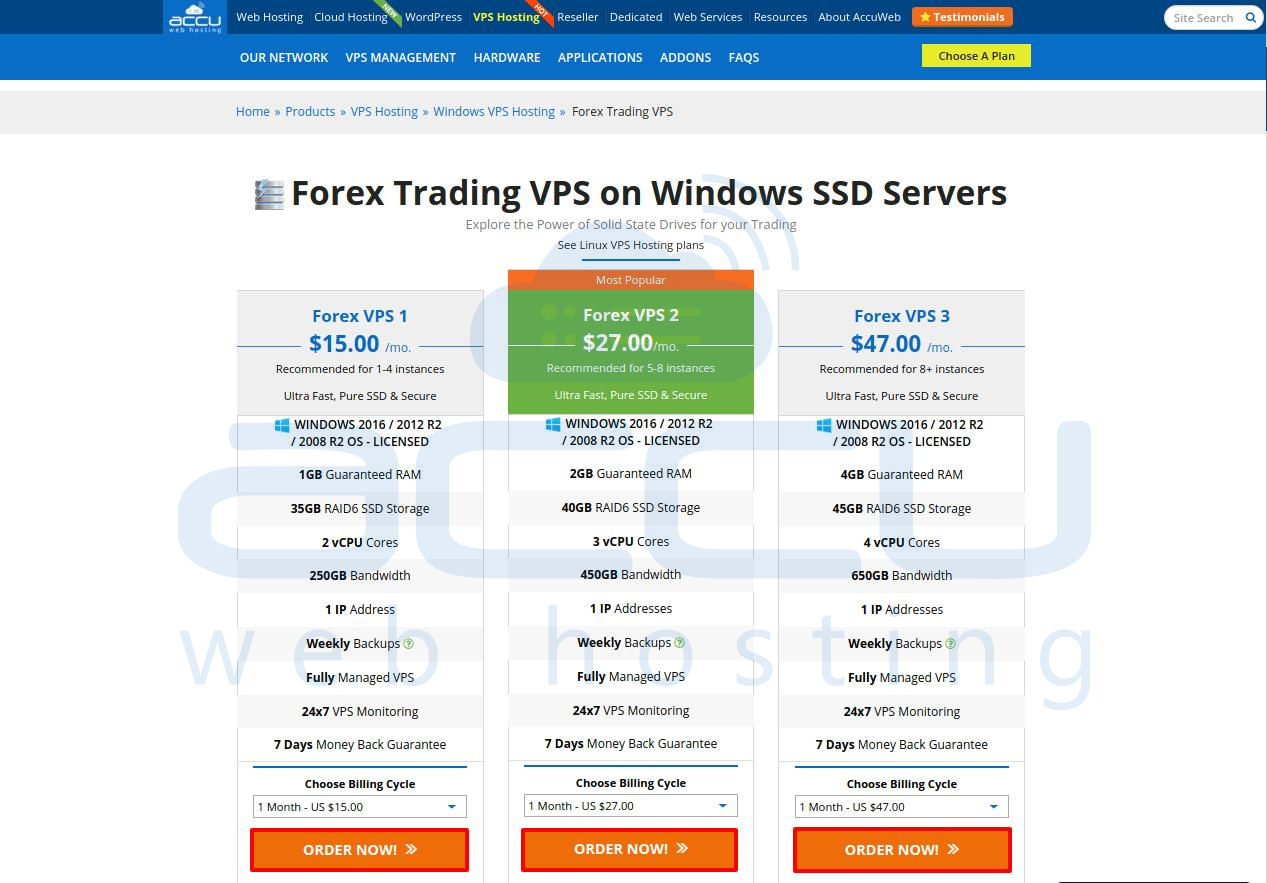
- First select your desired Forex VPS Plan and then click on the order now button.

- By click on the order now button you will be redirected to the new page. Here you can choose billing cycle for your plan.

- Next, you will see configure server option. In this option, you have to fill all the details and it is mandatory.
Hostname: You can use your domain name or any name as a hostname. For example domain.com. It is only used to identify your order in our system.
NS1 Prefix: You can simply enter ns1 in this field
NS2 Prefix: You can simply enter ns2 in this field
Root Password: Root password is one that we will set for your server. We recommend you to set a strong password for your server.

- Next you will see configurable options. You have to choose the required details from the below option for your order.
Operating System: You can choose your desirable OS (Operating system) for your order.
Managed services: We provide managed service on Forex VPS free of cost. To know what we include check out this link.
Daily backups (CDP backups): You can purchase CDP backup service if you want to secure the backup of your server on daily basis. The minimum 20 GB CDP space purchase is required. Leave None option as it is if you do not need CDP Backup.
Free complementary backup: It is already included for your order. For more details click here.
Additional IP address: Select the number of additional IP address that you need for your VPS. Leave No Additional IP Address options as it is if you do not need Additional IP Address.
Additional RAMSelect the amount of additional RAM that you need for your VPS. Leave No Additional RAM options as it is if you do not need Additional RAM.
Additional BandwidthSelect the amount of additional Bandwidth that you need for your VPS. Leave No Additional Bandwidth options as it is if you do not need Additional Bandwidth.
Additional Disk SpaceSelect the amount of additional Disk space that you need for your VPS. Leave No Additional Disk Space options as it is if you do not need Additional Disk Space.
Additional vCPU Select the number of additional vCPU that you need for your VPS. Leave No Additional vCPU options as it is if you do not need Additional vCPU.

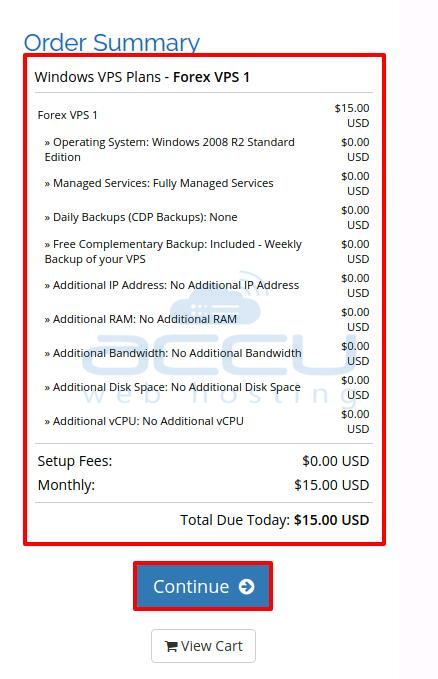
- Once you select the required details for your VPS from the configurable option you can see the selected detail under order summary. Once you verify the details, you can click on the continue button to proceed further.

- By click on continue button, you will get a new window. In this windows, you can review and checkout the product which you have selected during configurable option. If you want to purchase another VPS/service, you can click on the Continue shopping.

- Next, you have to enter the billing details for your product in the billing information. If you are an existing client, you have to select the option existing customer. Please note the all the fields are mandatory.

- Next, you have to choose a security question for your account. This will be used to recover your client area password.

- Next, you have to choose a payment method for your product. We do offer two payment methods to make the payment. One is PayPal and another is Credit Card. You can choose any one method to make the payment.

- Next, you will see Notes/additional information option. In this option, you can put a message/note in the additional information field, if you want to add any special note for configuring your VPS. We will check it during setup time and configure it.

Once all done you have to tick on Terms and service option and click on the Checkout button. - Once you click on the checkout button, you will be redirected to Payment Gateway which you would have selected in the payment method. In this article, we have selected PayPal Method to make the payment so you will be redirected to PayPal Payment Gateway.
If you want to make the payment through credit card, you can select Credit Card in Payment Method. - Your order will pass through our verification process after the payment is completed. Once it is verified and approved, it will be queued for setup. The setup process may take upto two hours.
This article will help you to place a Forex VPS order from our website.
