CloudFlare provides free SSLÂ certificate to encrypt the data transmission between browser and web server. This free SSL certificate can secure main domain (yourdomain.com), and all its subdomains (*.yourdomain.com). Once you enable CloudFlare free SSL certificate, traffic from browser to CloudFlare server will be encrypted, but traffic from CloudFlare to your website's origin server will not be encrypted. The following tutorial will assist you to enable CloudFlare SSL certificate from CloudFlare control panel.
-  Log into your CloudFlare Account, and click on Add Site.

- Specify the name of your website, for which you want to activate this free SSL certificate. Then click on Begin Scan.
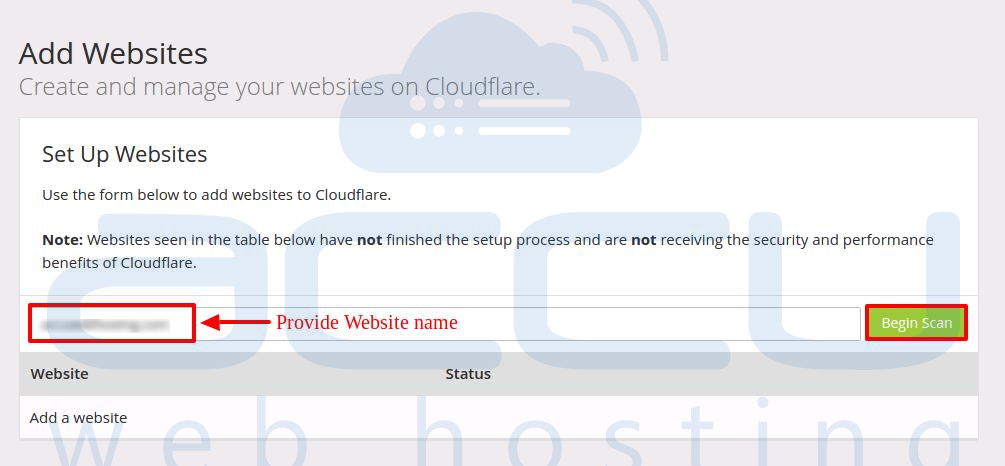
- Once you click on Begin Scan, scanning process will be initiated.
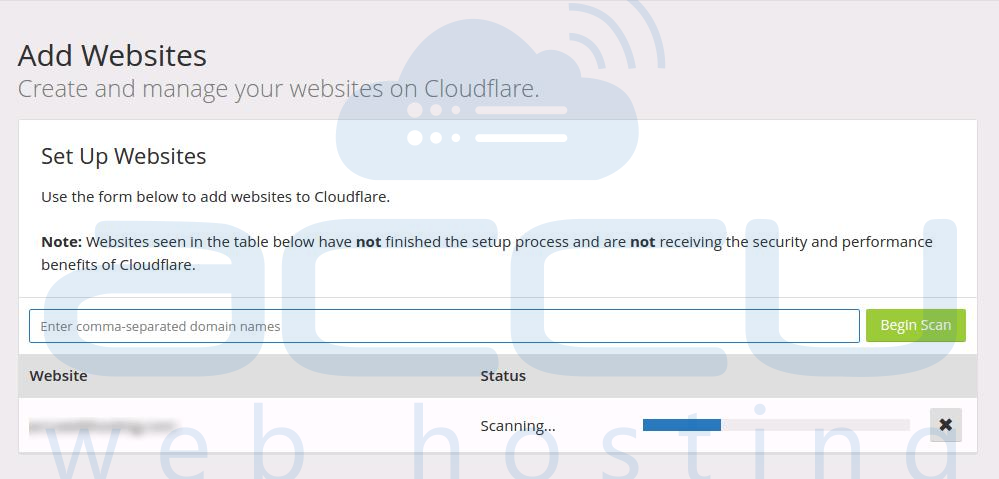
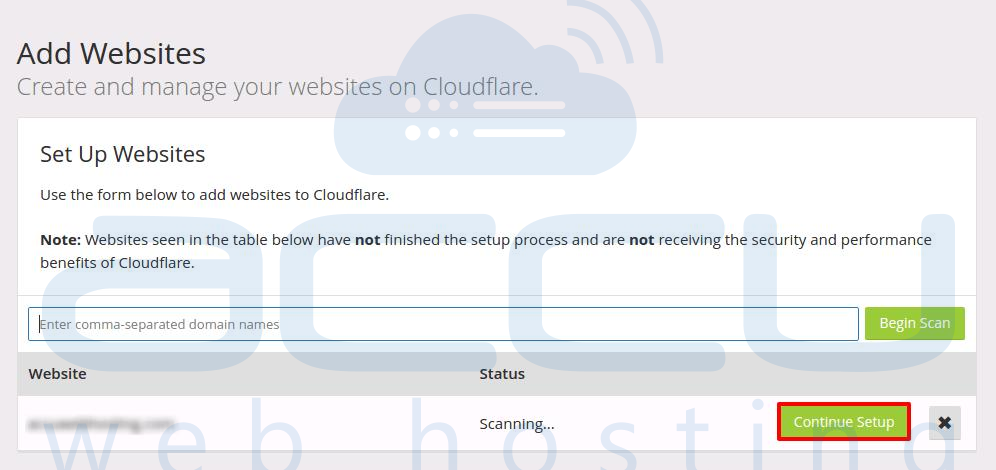
- Once the scanning process is completed, click on Continue Setup.
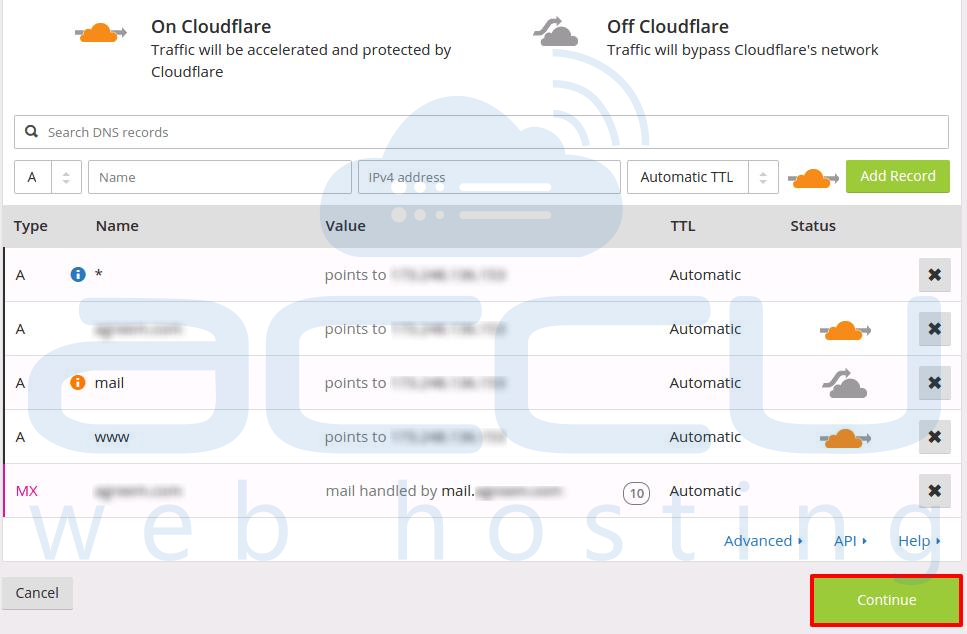
- On the next screen, you will see the list of current DNS records for your website. It will also display additional information as which traffic will be protected by CloudFlare and which won't. Check all the records and click on Continue.
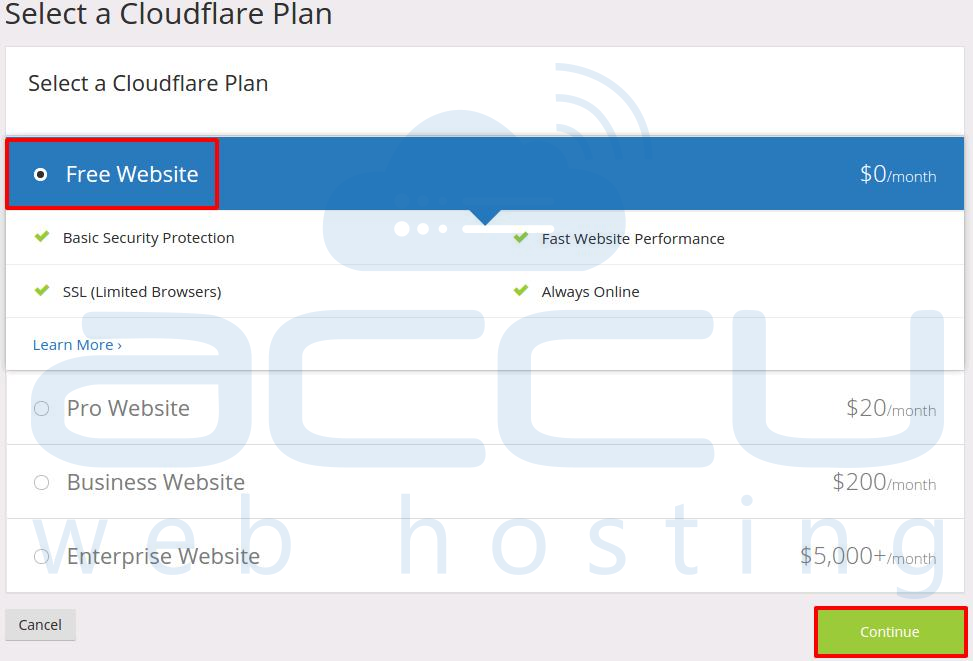
- On Select a CloudFlare Plan page, select Free Website and click on Continue.
- On the next screen, you will see current nameservers of your domain and the new CloudFlare nameservers which you need to set for your domain. Copy those nameservers and click on Continue.
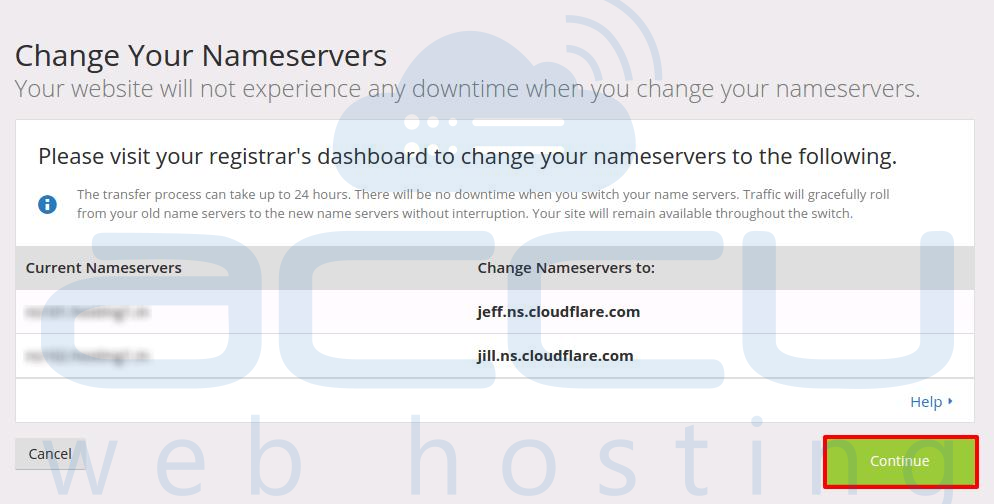
- Now login to your domain control panel and change nameserver to Cloudflare's nameservers. Note that nameservers propagation may take 12 to 24 hours.
- Once the nameservers are changed at domain control panel, again login to CloudFlare account and change few settings to use CloudFlare free SSL.
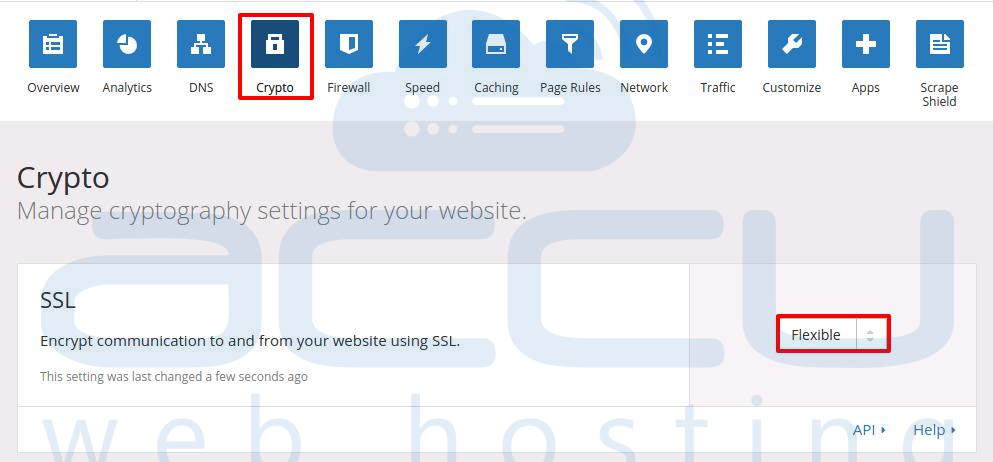
- On CloudFlare panel, click on Crypto tab located on top of the page, and change SSL setting to Flexible. Note that, if you select flexible mode, the connection between your visitor and Cloudflare will be encrypted but not from Cloudflare to your server. Furthermore, you do not need to install SSL in your server and visitor will see a lock icon on their browser.
- You will need to wait for new nameserver propagation and changes you made in CloudFlare. While the nameservers are being propagated, you will see Authorizing Certificate in Crypto field as shown in the following image.

- Once the nameservers are propagated, you will see Active Certificate in the Crypto field as shown in the following image.

- Now click on Caching tab located on top of the window.
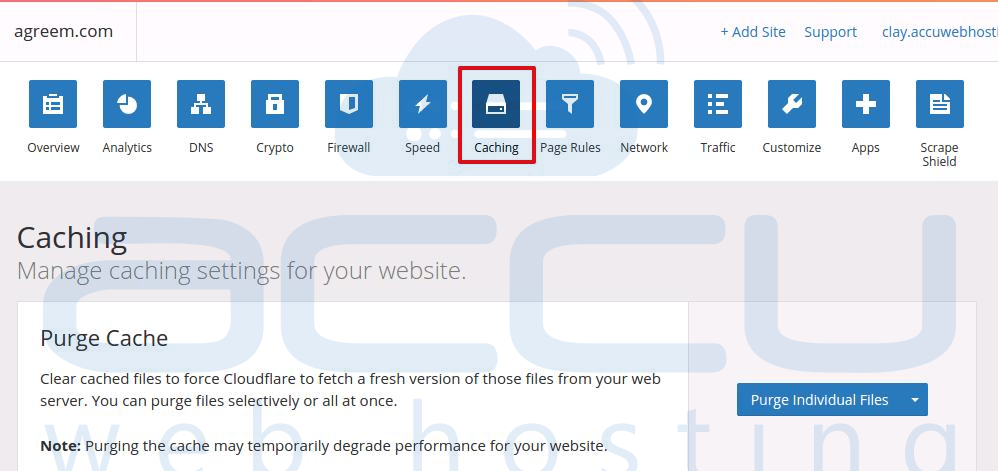
- Scroll down to the page and click on Purge Everything button. In the pop window again click on Purge Everything.

- Click on Overview tab located on top of the window, and you will see the status of SSL has changed to Active.

